
Manage newsletter recipients
Add, import, and edit the subscribers who receive your newsletters, assign them to groups, and manage their subscribe or unsubscribe status.
Recipients are the people who receive your newsletters. Each recipient has a name and email address, belongs to one or more groups, and has a subscribe status that controls whether they still get your emails.
Open the Recipients list
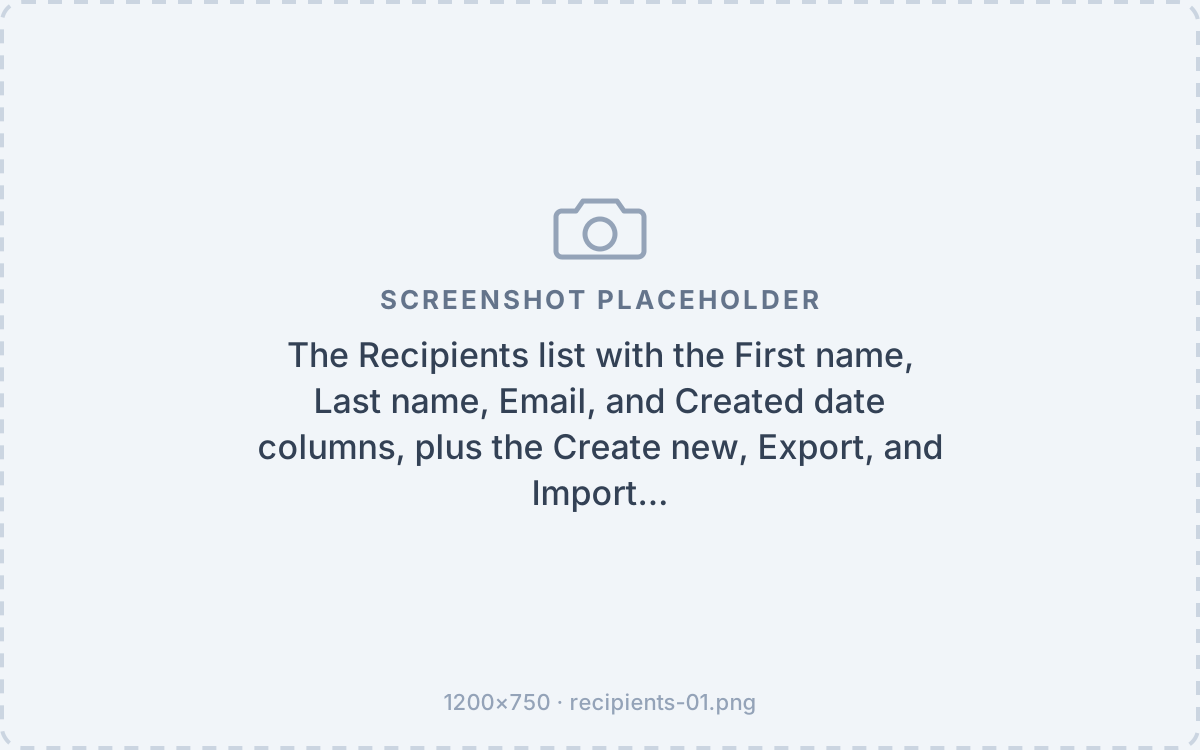
Go to Newsletters → Recipients to see all your subscribers, with their first name, last name, email, and created date. Use the search box to find someone by name, or the Group filter to show only the recipients in one group.
Add a recipient
- On the Recipients list, click Create new.
- Enter the First name, Last name, Email, and Title.
- Tick the Groups the recipient should belong to.
- Click Save, or Save and close to return to the list.
Import recipients from a file
Rather than adding subscribers one at a time, you can load a list from a file.
- On the Recipients list, click Import.
- Map the columns in your file to the recipient fields — First name, Last name, Email, Title, and Groups.
- Select your file and click Import.
- Vinosoft processes each row and reports which records were inserted or updated.
Export recipients
Click Export on the Recipients list to download your subscribers as an Excel file. The export respects the current search and group filter, so you can export just one group.
Subscribe and unsubscribe
Open a recipient with Edit to manage their status:
- Is subscribed — untick this to stop sending newsletters to the recipient without deleting them.
- When a recipient unsubscribes themselves, Vinosoft records the date and shows "This user was unsubscribed on…".
- The edit screen also shows an Unsubscribe link you can open to test the self-service unsubscribe page.
Recipients are targeted by group when you send, so organise them with Manage recipient groups.
Related: Create and send a newsletter.
Was this article helpful?